

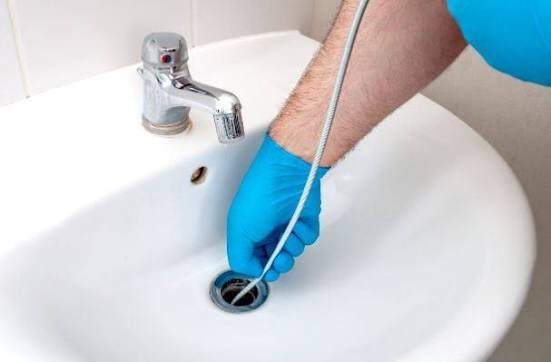
To clean a sink drain, start by removing trapped debris, washing the removable stopper or strainer, and cleaning the accessible drain opening with mild soap and a soft brush. Rinse with warm tap water, then check whether drainage improves. If water still pools, the next step is clearing a blockage rather than adding more cleaning products.
Learning how to clean a sink drain means matching the method to the problem: hair around a bathroom stopper, food residue in a kitchen drain, and a persistent sewer smell need different attention. Start with the accessible parts before opening pipes.
1. Identify the Problem Before You Start
First, check whether the sink drains normally, slowly, or not at all. Soap, hair, and grease can accumulate in the trap or drain line, but an unpleasant smell does not automatically mean a clog. An unused sink can also develop odors when its trap dries out.
Use these observations to choose your starting point:
| What you notice | Where to start |
|---|---|
| Visible grime, but normal drainage | Clean the stopper, strainer, and drain opening |
| Hair wrapped around a bathroom stopper | Remove the stopper and lift out the hair |
| Water pooling in one sink | Remove accessible debris, then consider plunging |
| Odor from an infrequently used sink | Run water to refill the trap |
| Persistent sewer odor or wastewater backing up | Arrange a plumbing inspection |
These are starting points, not definite diagnoses. If cleaning one accessible component restores normal drainage, you can stop there.
2. Gather Supplies and Check for Chemicals
:max_bytes(150000):strip_icc()/GettyImages-486370362-3eaf92fa99f747009ed7ad78ba044a76.jpg)
For basic cleaning, gather:
- Rubber gloves and protective eyewear.
- Mild dish soap.
- A soft nylon brush or old toothbrush.
- Paper towels and a trash bag.
- A bucket and towels.
- A clean, flat-bottomed sink plunger if needed.
Before touching standing water, establish whether anyone has added a chemical drain opener. If so, follow that product’s instructions. Do not add another cleaner, plunge, or dismantle plumbing while hazardous product may remain.
Drano’s Max Gel instructions specifically prohibit plunging during or after use because retained cleaner can splash back. They also warn against mixing it with other cleaners or chemicals. Tell a plumber exactly what you used if the drain remains blocked.
If the sink has a garbage disposal, disconnect its electrical power before cleaning accessible components. Follow the appliance manual and never put your hand inside the grinding chamber.
How to Clean a Shower Head With Vinegar: Easy Step-by-Step Guide
3. Clean the Stopper and Drain Opening

This is the best starting point when grime or hair is visible near the top of the drain.
- Remove loose debris. Put food scraps and hair in the trash.
- Remove the strainer or removable stopper. Follow its instructions rather than forcing it.
- Lift off attached buildup. Use paper towels to collect tangled hair and residue.
- Wash the component. Use mild soap, warm water, and a soft brush compatible with its finish.
- Clean the accessible drain rim. Brush gently without pushing debris farther down.
- Reassemble and test. Run water and check drainage and any connections you disturbed.
Kohler’s drain-care guidance recommends mild soap followed by a thorough warm-water rinse. Abrasive scrubbing is unnecessary for this routine cleaning.
What if the bathroom stopper will not lift out?
Some traditional pop-up stoppers connect to a horizontal pivot rod beneath the sink. Delta explains that its rod-connected design releases after the retaining nut is removed and the rod is withdrawn slightly.
Place a bucket underneath before disconnecting anything, note how the parts fit, and restore the connection before running water. Other stopper designs work differently, so check the manufacturer’s instructions if the mechanism is unfamiliar.
4. Clear a Slow Drain With a Plunger
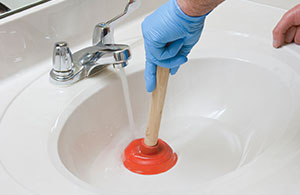
If accessible debris is gone but water still drains slowly, a sink plunger may dislodge the remaining obstruction. Use a clean cup plunger reserved for sinks.
For an ordinary sink without a disposal or connected dishwasher complication:
- Remove the stopper.
- Cover the overflow opening with a damp cloth, if present.
- Seal the other drain opening on a double-basin sink.
- Add enough water to cover the plunger cup.
- Tilt the cup into position to release trapped air.
- Keep a seal and pump for about 20 seconds.
- Lift the plunger and check whether water drains.
The Home Depot recommends keeping the cup submerged and maintaining a seal. If a couple of attempts produce no improvement, stop and reassess instead of repeatedly increasing force.
A kitchen sink connected to a dishwasher needs additional care to prevent backflow into the dishwasher hose. Follow appliance-specific guidance or get help rather than improvising hose clamps or disconnecting unfamiliar fittings.
5. Check the P-Trap When Basic Cleaning Fails
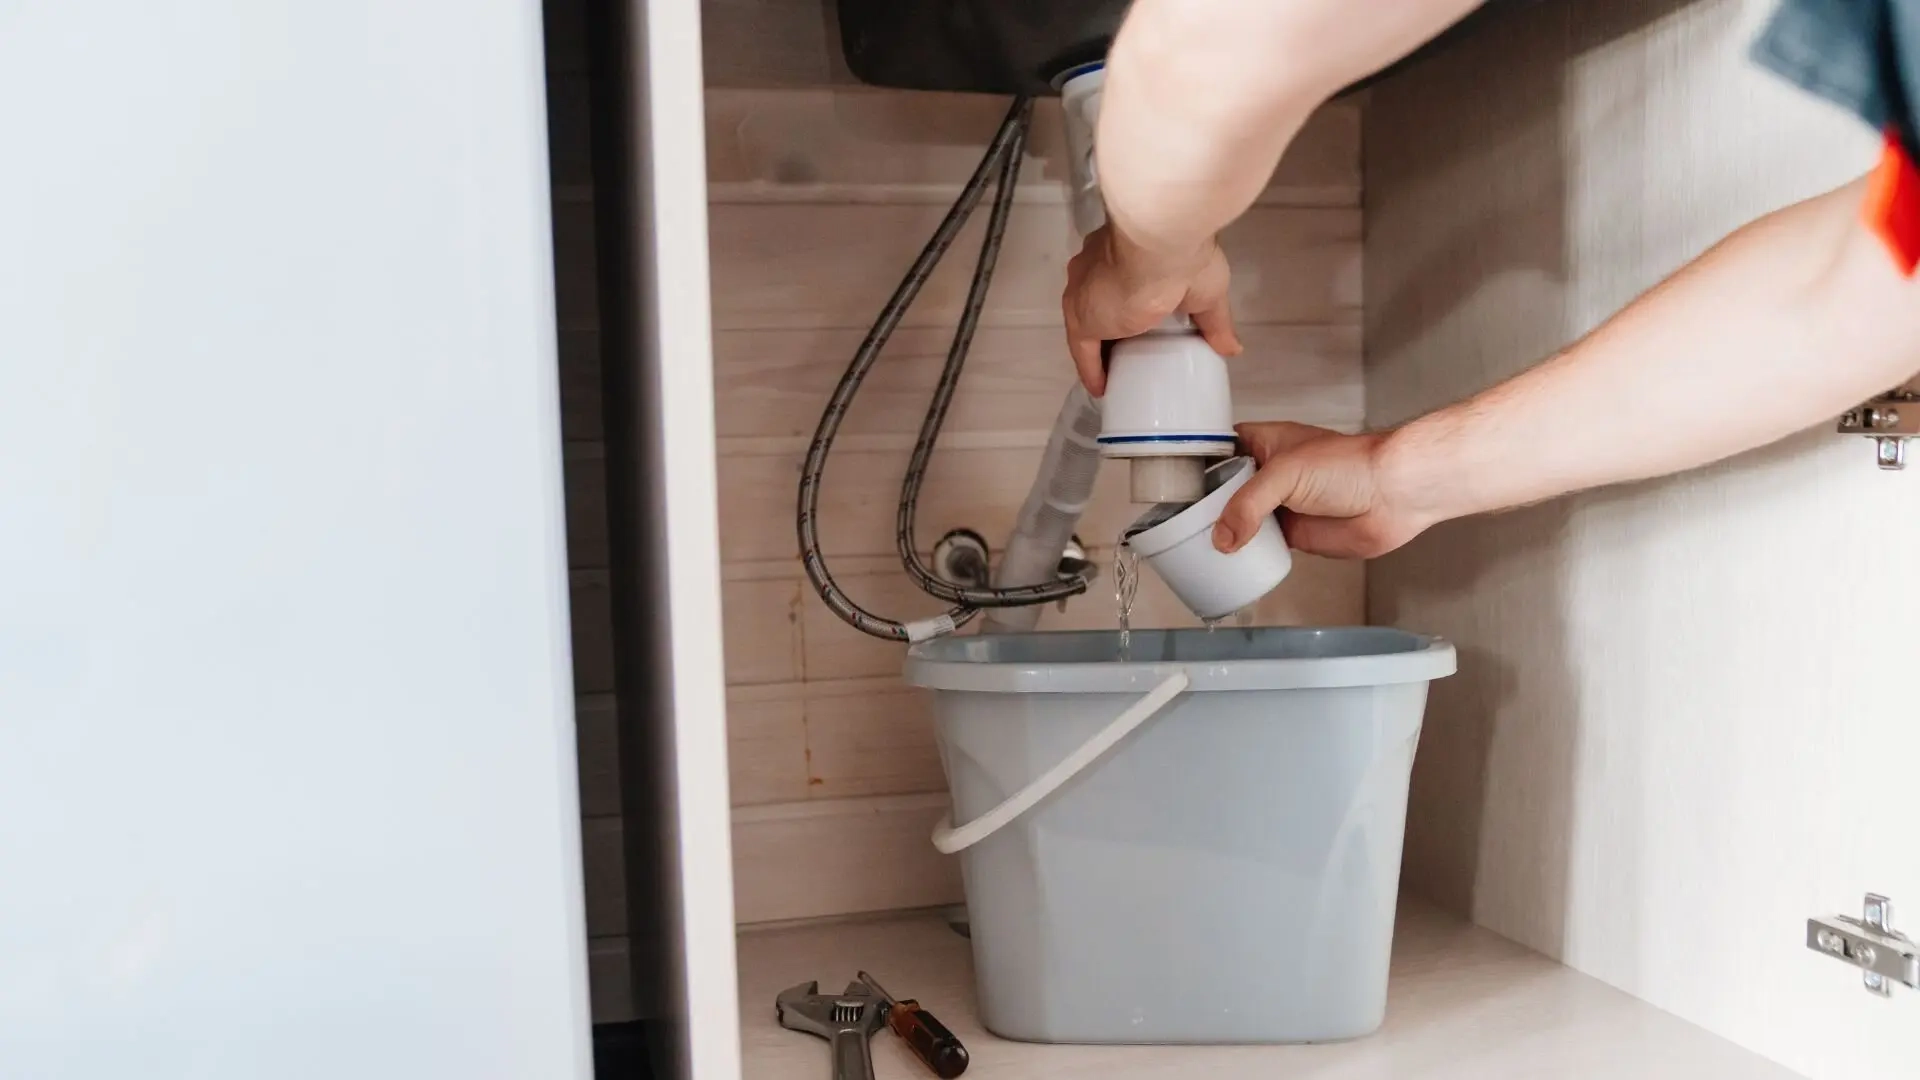
The P-trap is the curved pipe beneath the sink. Cleaning it is an optional next step for someone comfortable working with an accessible, removable assembly.
Skip this task if chemical cleaner remains, pipes are corroded, joints are glued, or fittings resist removal.
For a removable slip-joint trap:
- Stop using the sink and place a bucket underneath.
- Photograph the assembly and washer positions.
- Carefully loosen the slip nuts and support the trap.
- Empty it into the bucket and remove debris.
- Reassemble with the washers correctly seated.
- Run a small amount of water, then check every joint for leaks.
Do not overtighten plastic connectors. The Home Depot warns that they can crack. If the trap is clear but drainage remains poor, the obstruction may be farther along the pipe and require an appropriately used drain auger or professional service.
Never run the faucet while the trap is disconnected.
6. Clean a Kitchen Drain With a Garbage Disposal
A disposal needs its own cleaning approach. A dirty splash guard can retain food residue even when the sink drains properly.
With power disconnected, clean the accessible splash guard according to the manual. Remove it only if your model allows removal; some baffles are fixed in place. Use an approved disposal-cleaning product only as directed.
InSinkErator’s Evolution Septic Assist manual allows cleaning its removable baffle by hand or in a dishwasher and warns against caustic drain cleaners. That guidance is model-specific, so check your own appliance instructions before choosing a product.
Once everything is reinstalled, restore power. Use cold water when grinding food waste, following the manufacturer’s operating directions. Do not treat a humming, jammed disposal as an ordinary dirty drain; switch it off and follow its troubleshooting procedure.
7. Avoid Cleaning Shortcuts That Miss the Cause
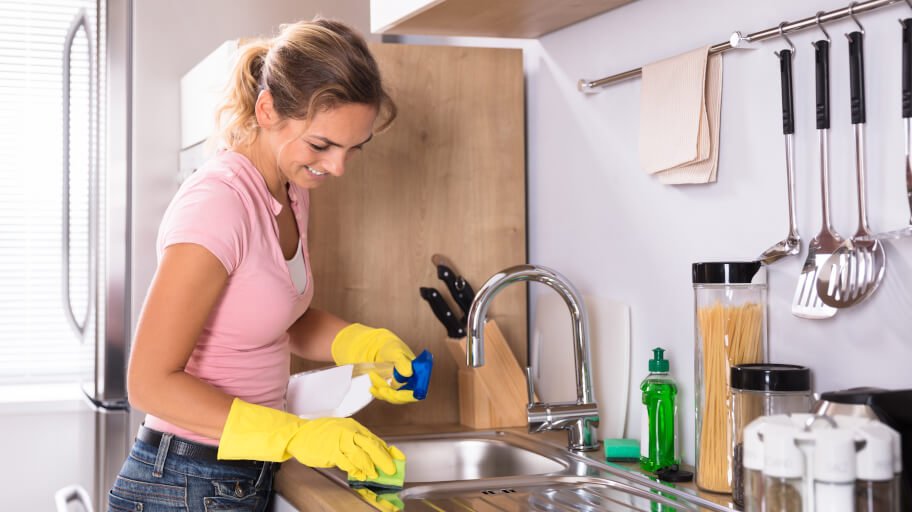
Relying on baking soda and vinegar for a stubborn clog
The fizz does not prove that a blockage has cleared. Poison Control explains that the reaction produces carbon dioxide, but an open drain generally cannot retain enough pressure to dislodge a clog. The mixture is also unlikely to break down tough grease blockages.
For visible hair or solid debris, removing the material is a more direct approach than repeatedly adding a homemade mixture.
Assuming boiling water is suitable for every sink
Use warm tap water for the routine cleaning described here. Do not assume a kettle of boiling water is compatible with every fixture, drain assembly, or treatment. Follow the relevant instructions; Drano Max Gel, for example, specifies hot rather than boiling rinse water.
Using fragrance to cover a recurring smell
If an infrequently used sink smells, refill its trap by running water. If the odor persists or quickly returns, have the plumbing checked. Oatey identifies dry traps, damaged sewer piping, and venting issues among possible causes of sewer odors.
8. Prevent Buildup and Recognize When to Call
Keep strainers clear and remove visible hair before it enters the drain. Clean removable parts when residue appears rather than waiting until water backs up.
In the kitchen, scrape plates and keep cooking grease, oil, and coffee grounds out of the sink. For homes with septic systems, the EPA advises avoiding chemical drain openers and limiting garbage-disposal use because food waste adds solids to the system.
Arrange professional help when:
- A cleared drain repeatedly blocks again.
- Several fixtures back up together.
- Wastewater appears in another fixture.
- Pipes leak or look damaged.
- A sewer smell persists after basic cleaning and trap refilling.
These symptoms warrant investigation beyond surface cleaning. Persistent sewer odors can involve damaged or blocked piping, so continuing to pour products into the sink may miss the underlying problem.
FAQ
Q1. How often should you clean a sink drain?
There is no single schedule suitable for every household. Check the strainer and stopper during regular sink cleaning, remove visible debris promptly, and investigate any change in drainage. Frequent recurrence calls for finding the cause rather than simply cleaning more often.
Q2. Can you clean a drain without removing the stopper?
You can clean its exposed surface and the surrounding rim, but buildup underneath may remain inaccessible. Check the stopper’s removal instructions. Some lift out, while rod-operated designs may need to be released beneath the sink. Never force an unfamiliar mechanism.
Q3. What should you do if drain cleaner splashes on you?
Stop working and get product-specific advice immediately. In the United States, call Poison Control at 1-800-222-1222 or use webPOISONCONTROL for guidance after skin contact, ingestion, or inhalation. Keep the container available so the product can be identified.
Conclusion
Start with the parts you can inspect: the strainer, stopper, and drain opening. Remove collected debris, clean gently, and test before moving to plunging or trap removal. Keep disposal maintenance specific to the appliance, and stop mechanical work if chemical cleaner may remain.
Once drainage improves, prevent repeat buildup by catching hair and keeping grease and scraps out of the sink. Recurring blockages, leaks, or persistent sewer odors are reasons to arrange a plumbing inspection.
